The commercial horticultural industry has seen significant innovation over the past few years. The growing facilities of today look remarkably different to those considered to be at the cutting edge of design just a decade ago.
The most significant innovations have been in CEA technologies—driven by increasing energy and labour costs. Growers have realized the advantages of investing in equipment and automated systems that will reduce their operating costs (including labour, maintenance and energy-related costs) and increase their bottom line.
As such, energy-efficient supplemental lighting systems are a logical investment for most greenhouse operators. So it’s critical that growers have strategies in place to ensure the optimal performance and ROI of their lighting system, as well as maximizing efficiency and crop yields.
The first, most basic thing you can do to ensure you’re optimizing your lighting, is to work with a reputable lighting company to develop a light plan―customized for your specific facility and application―and then install your lights exactly according to that plan.
LIGHT PLANNING
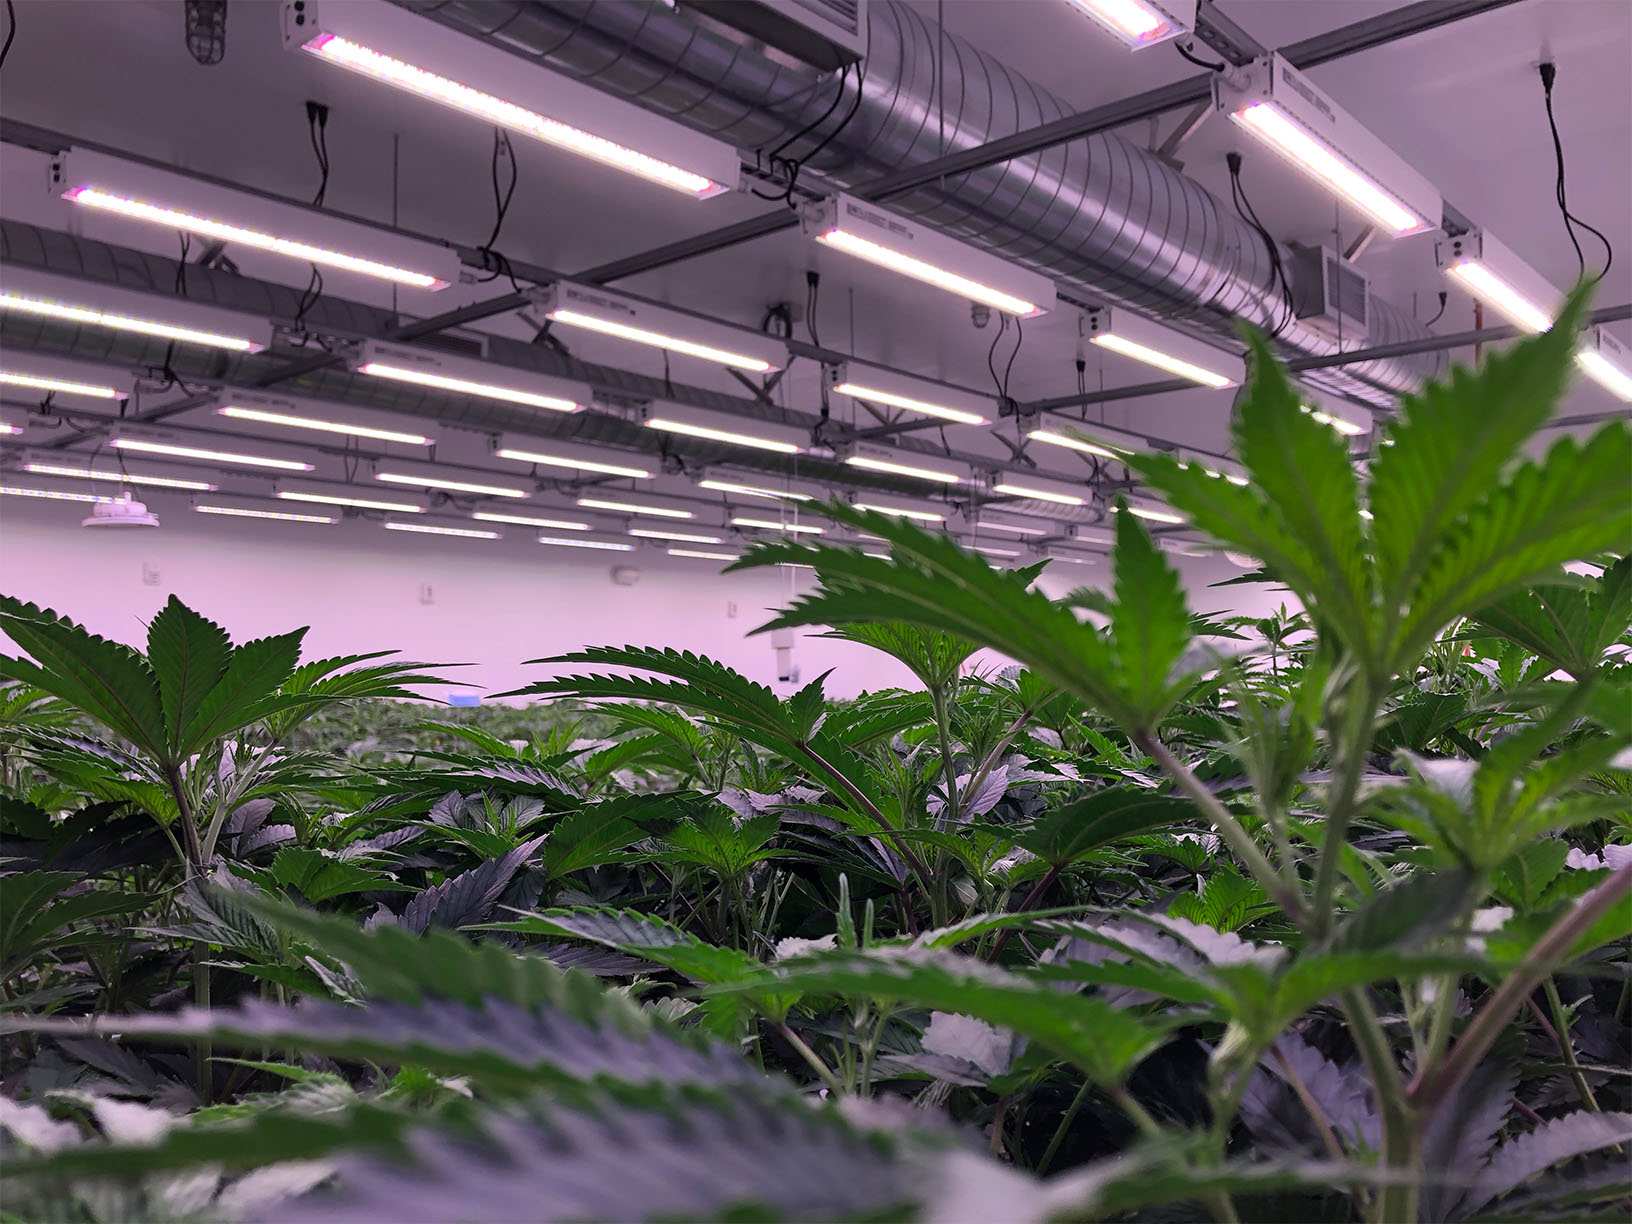
For those of you not familiar with a light plan, it is essentially a calculation of the best possible coordination of luminaires in terms of their distance and orientation from one another, as well as the crop. The trick lies in determining the ideal combination of these factors to ensure that you will achieve optimum light output and distribution—with as few luminaires as possible. The resultant light plan will provide a cumulative overview of the light output and distribution of all the grow lights installed, based on the prescribed mounting positions and orientation.
Reputable lighting manufacturers will guarantee the light levels presented in their light plans—provided the luminaires are installed in accordance with the recommended plan of course. If you are comparing light plans from multiple lighting suppliers, be sure that the data being presented to you is a true indication of the actual performance you can expect. A new lighting system is a big investment and can significantly impact your yield, so ask questions. Is the proposed light output of the luminaire based on the lamp’s or LEDs’ maintenance factor (“end of life”) for the best indication of actual performance? Does the light plan specify light levels in micromoles vs. lumens or lux? If it’s the latter, they likely are not experienced in horticultural lighting.
Many growers are already familiar with the rule of thumb when it comes to light intensity and plant growth. This rule states that for every 1% increase in PAR light, you will see an equivalent increase in plant growth and yield.
The same principle applies in reverse of course, whereby each 1% loss of PAR light will result in 1% loss in plant growth and yield. So maintaining the highest possible output from your grow lights is critical to maintaining optimal crop yields.
One of the most obvious (but often forgotten) things a grower can do to ensure they’re getting the best performance and efficiency from his or her lights, is to properly maintain them. Just like any other equipment, indoor grow lights need to be regularly maintained in order to ensure optimal performance.
Two very simple but critical maintenance measures that every grower should be incorporating into their regular maintenance routine if they are using HIDs are re-lamping and reflector cleaning.
RE-LAMPING
It’s a fact that the light output of all luminaires depreciates over time – this is true for both HID and LED products. But HID lamps, do of course deteriorate faster than LEDs. That being said, however, an HID luminaire can run very efficiently for years and years if properly maintained and the lamps are regularly replaced.
For high-pressure sodium lamps, replacement is recommended after 10,000 burning hours to ensure optimal light output. Metal Halide lamps depreciate faster than HPS lamps – and are typically recommended to be replaced after 8,000 hours of normal operation.
So if you consider the light intensity rule in the previous slide, where every 1% loss of PAR light can mean a 1% loss in plant growth, you can deduce that if the useful PAR output of a lamp depreciates by roughly 1% per 1,000 burning hours, then after 10,000 burning hours then that lamp will only output 90% of the original output, which translates to roughly 10% less crop yield.
So this is why regular replacement of lamps is critical to maintaining the optimal PAR light output of your HID luminaires.
I’d be curious to know how many growers are using HID lighting and have a re-lamping strategy in place for their grow facilities. What is it? Is it wait until they burn out? Or do you proactively plan, so that all houses/bays/zones/rooms are all changed out at the same time to ensure consistent light levels?
Since the size and scope of grow facilities can be very large, group re-lamping can be a very expensive and labor-intensive exercise if you don’t have a well-thought-out strategy in place.
Example
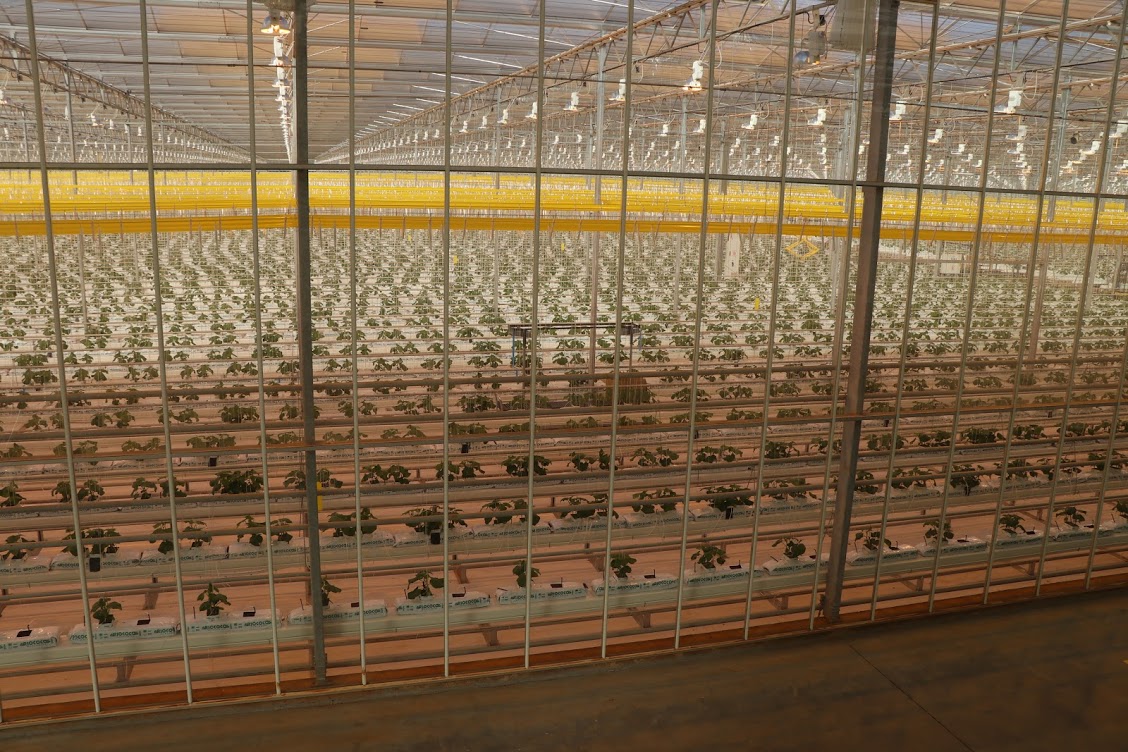
Let’s use an example to demonstrate. Say you have a facility with 1,000 luminaires, and the cost of a single new double-ended lamp is $75. If you were to replace all your lamps at the same time, that would be an investment of $75,000.
So, we know the life expectancy of a 1,000-watt DE lamp is 10,000 burning hours. The average use of supplemental lighting per growing season for a tomato or cucumber greenhouse will range from 2,200-2,500 hrs/yr., whereas a cannabis grower would typically run their lights for roughly 4,000-4,400 hrs./yr. Geographic location. This would, of course, also affect the number of hours a greenhouse grower would need to use supplemental lighting, based on the amount of natural light available. In an indoor grow, with no natural light, but only sole-source artificial lighting, you would obviously need to replace your lamps more frequently.
Typically a lamp will last 2-4 years, depending on how and where it is used. This means every 2-4 years, you will need to spend $75,000 to maintain optimal light levels to produce optimal yields―not a small amount of money. And we have customers with tens of thousands of luminaires in a single facility.
If you had a re-lamping strategy in place, however, you could potentially change a third of the lights out at around 8,000-9000 burning hours (1,000-2000 hrs. earlier than required), another third at 10,000 hours (at the rated timeframe), and the final third at 11,000-12,000 burning hours (1,000-2,000 hours beyond the rated life), then a vegetable grower could spread the financial impact at roughly $25,000 in year three and a half, $25,000 in year 4 and $25,000 in year four and a half. Thereby spreading the financial impact over time, while still maintaining optimal light intensity, instead of having to spend $75,000 all at once.
It’s also a good idea to have a map of your facility and a log capturing your burning hours for each area, this will allow you to plan for staged replacement of lamps and can also provide good insight into how your crop is impacted by reduced light levels.
INSTALLING YOUR LAMPS
It should also be stressed, how important it is to ensure your double-ended lamps are installed properly. Most HID luminaires on the market, that use double-ended lamps, use the same lamp holder brackets. It is incredibly important that the lamp is installed in the correct orientation and that the lamp holders are fully closed when you’re installing the lamp. If they’re not, you will end up with a loose connection which could lead to arcing. Again, you can check out video instructions on how to do this or download the PDF instructions from the resources section of our website. Make sure your maintenance crew is trained on how to properly replace the lamps.
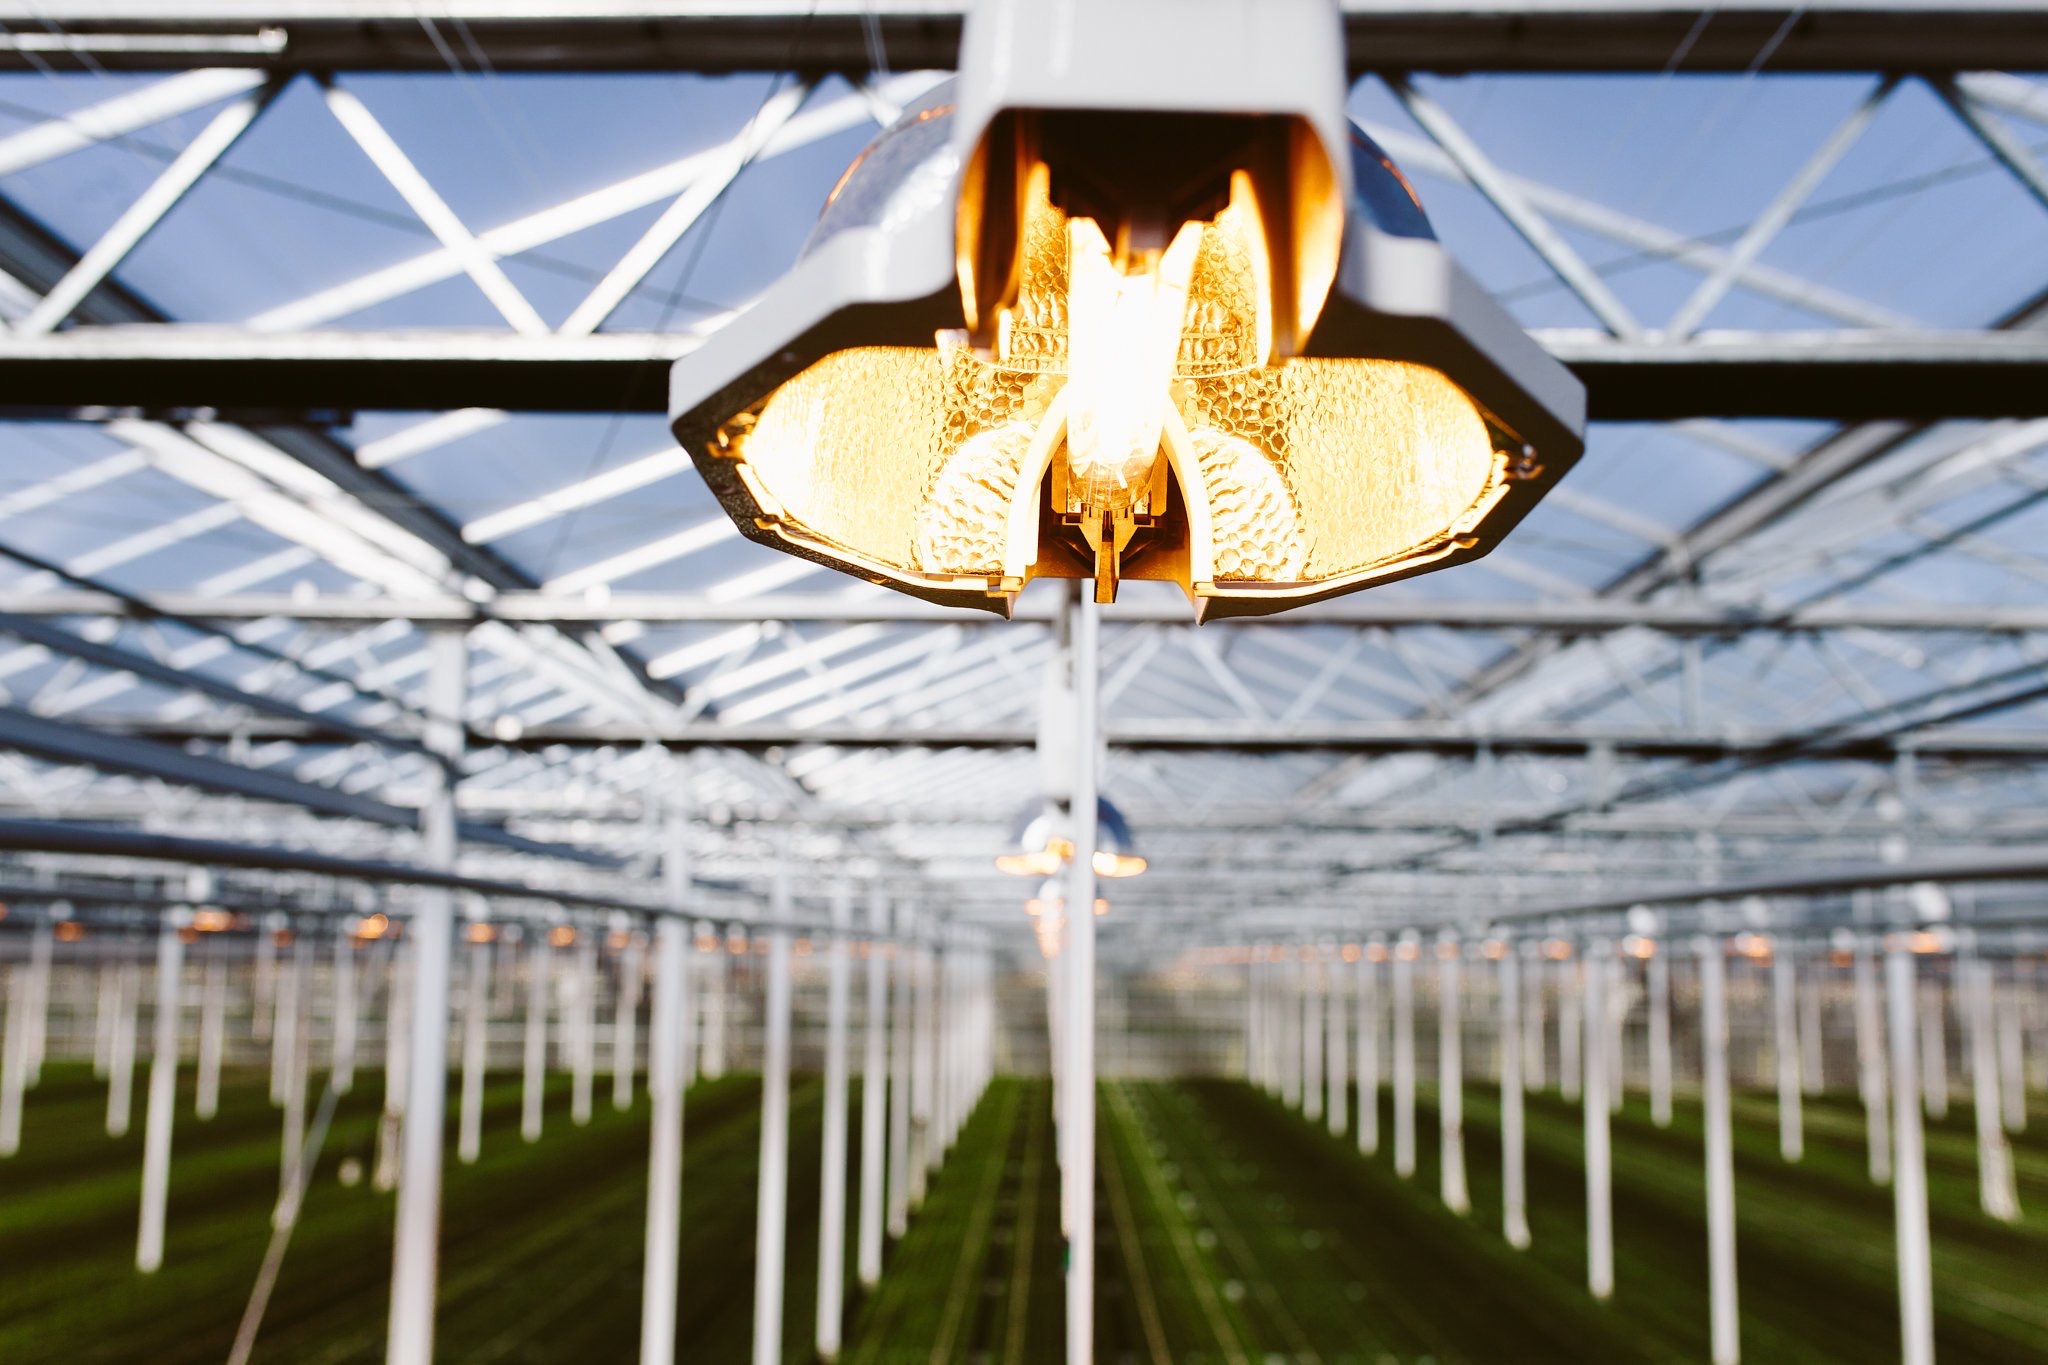
When you’re replacing lamps, you should also always confirm the new lamps are compatible with your luminaires to ensure you’re not risking the safety of or damage to lights. For example, older versions of our NXT products can only accommodate HPS lamps, whereas the most current version can accommodate both HPS and MH DE lamps. Should you install an MH lamp in one of the older products, then you’re quite likely going to cause your ballast to fail. You should check the product labels on your luminaires for the lamp types they can accommodate. Ideally, you can purchase your lamps through your light manufacturer to ensure they’re compatible, but you should at least check with them before purchasing new lamps from other suppliers since not all lamps are created equal.
You also want to make sure you don’t have more than 2 on/off cycles for your HID lights within a 24-hour period since this will shorten the life of both the driver and the lamp. This is especially true for the electronic ballasts since repeated re-strikes increase the stress on the high-powered electronic components
You should also always allow for at least 15 minutes before restarting an HID lamp once you’ve turned it off, to let the gasses in the lamp and the electronic components of the ballast/driver return to room temperature. This will help to maintain the useful life of the lamp.
CLEANING YOUR REFLECTORS
Another simple way you can make sure you’re getting the most out of your lighting system is by regularly cleaning your reflectors. You may not realize it, but it’s estimated that light output can be reduced by up to 10% due to dirt, dust, and buildup on a reflector. If not properly cleaned and maintained, this can mean a loss of quality in your crop, longer crop cycles, and reduced yield. Some lighting manufacturers will tell you that you need to replace your reflectors every year or two. If they’re good quality reflectors, however, made from quality materials, this is not true. You can clean them. PL’s NXT family of HID luminaires is designed so that the reflectors can easily be removed for cleaning (even when the lamp is installed).
To maintain the highest level of performance for your luminaires, we recommend that you check and clean your reflectors every year if possible. Ideally, this should be part of your cyclical maintenance routine and is as easy as removing the reflectors and washing them in a simple vinegar and water solution. You can check out the resources section of our website pllight.com to watch a short video on how to do this.
Right now, as we’re approaching summer and the days are getting longer, it’s a great time for greenhouse growers to consider cleaning their reflectors since they won’t be needing supplementary lighting in the greenhouse for a few months. Indoor growers, who use artificial lighting year-round, should include annual cleaning of their reflectors as part of their regular maintenance routine to ensure they continue to deliver optimum performance.

Obviously, the aluminum material of the reflectors will start to degrade over time as part of normal wear and tear in a greenhouse environment, so at some point, you will need to replace them if you want to maintain optimal PAR light output over the long term. The trick is knowing where that tipping point is.
VOLTAGE
Another good practice is to make sure the voltage you have specified for the luminaires matches the voltage you have in your building. This applies to both LEDs and HID. We always recommend speaking with a licensed electrician before deciding what voltage to use to run your grow lights. The voltage will be noted on the product label. A luminaire with a product label stating “120V-240V” will accept any one of these 3 voltages 120,208 or 240 and automatically sense the supplied voltage to ensure the same output to the LEDs regardless of the input voltage. A luminaire with a product label stating “277V” will only accept a voltage of 277V.
When it comes to lighting, we typically recommend going with the highest voltage available at your facility, which will also be the most efficient. By using a higher voltage for your application, you can lower driver and conductor losses and increase efficiencies. However, you should always consult with your electrician in advance to ensure you have an adequate power supply for your lighting and other equipment, including HVAC. He will need to consider your facility’s capacity, conductor sizes, circuit loads & voltage drop.
RETROFITTING
Since some horticultural lighting technologies date back more than 40 years, there are some facilities where upgrading the lighting system is really the only way to achieve greater energy efficiencies and maximize light output. Most people will assume that this means upgrading to LED, but that’s not necessarily the case. The most current HID lighting, with electronic ballast and DE lamp technology, is actually highly efficient and can be a very cost-effective way to upgrade from old, magnetic ballast lighting systems.
One of our customers, Burnaby Lake Greenhouses (located in British Columbia, Canada), did just that and achieved very impressive results. They replaced their old 600W PL2000 magnetic luminaires with the newer high-efficiency 1000W NXT2 electronic alternatives. You can see the full project results here.
HYBRID LIGHTING vs. LED and HPS LIGHTING
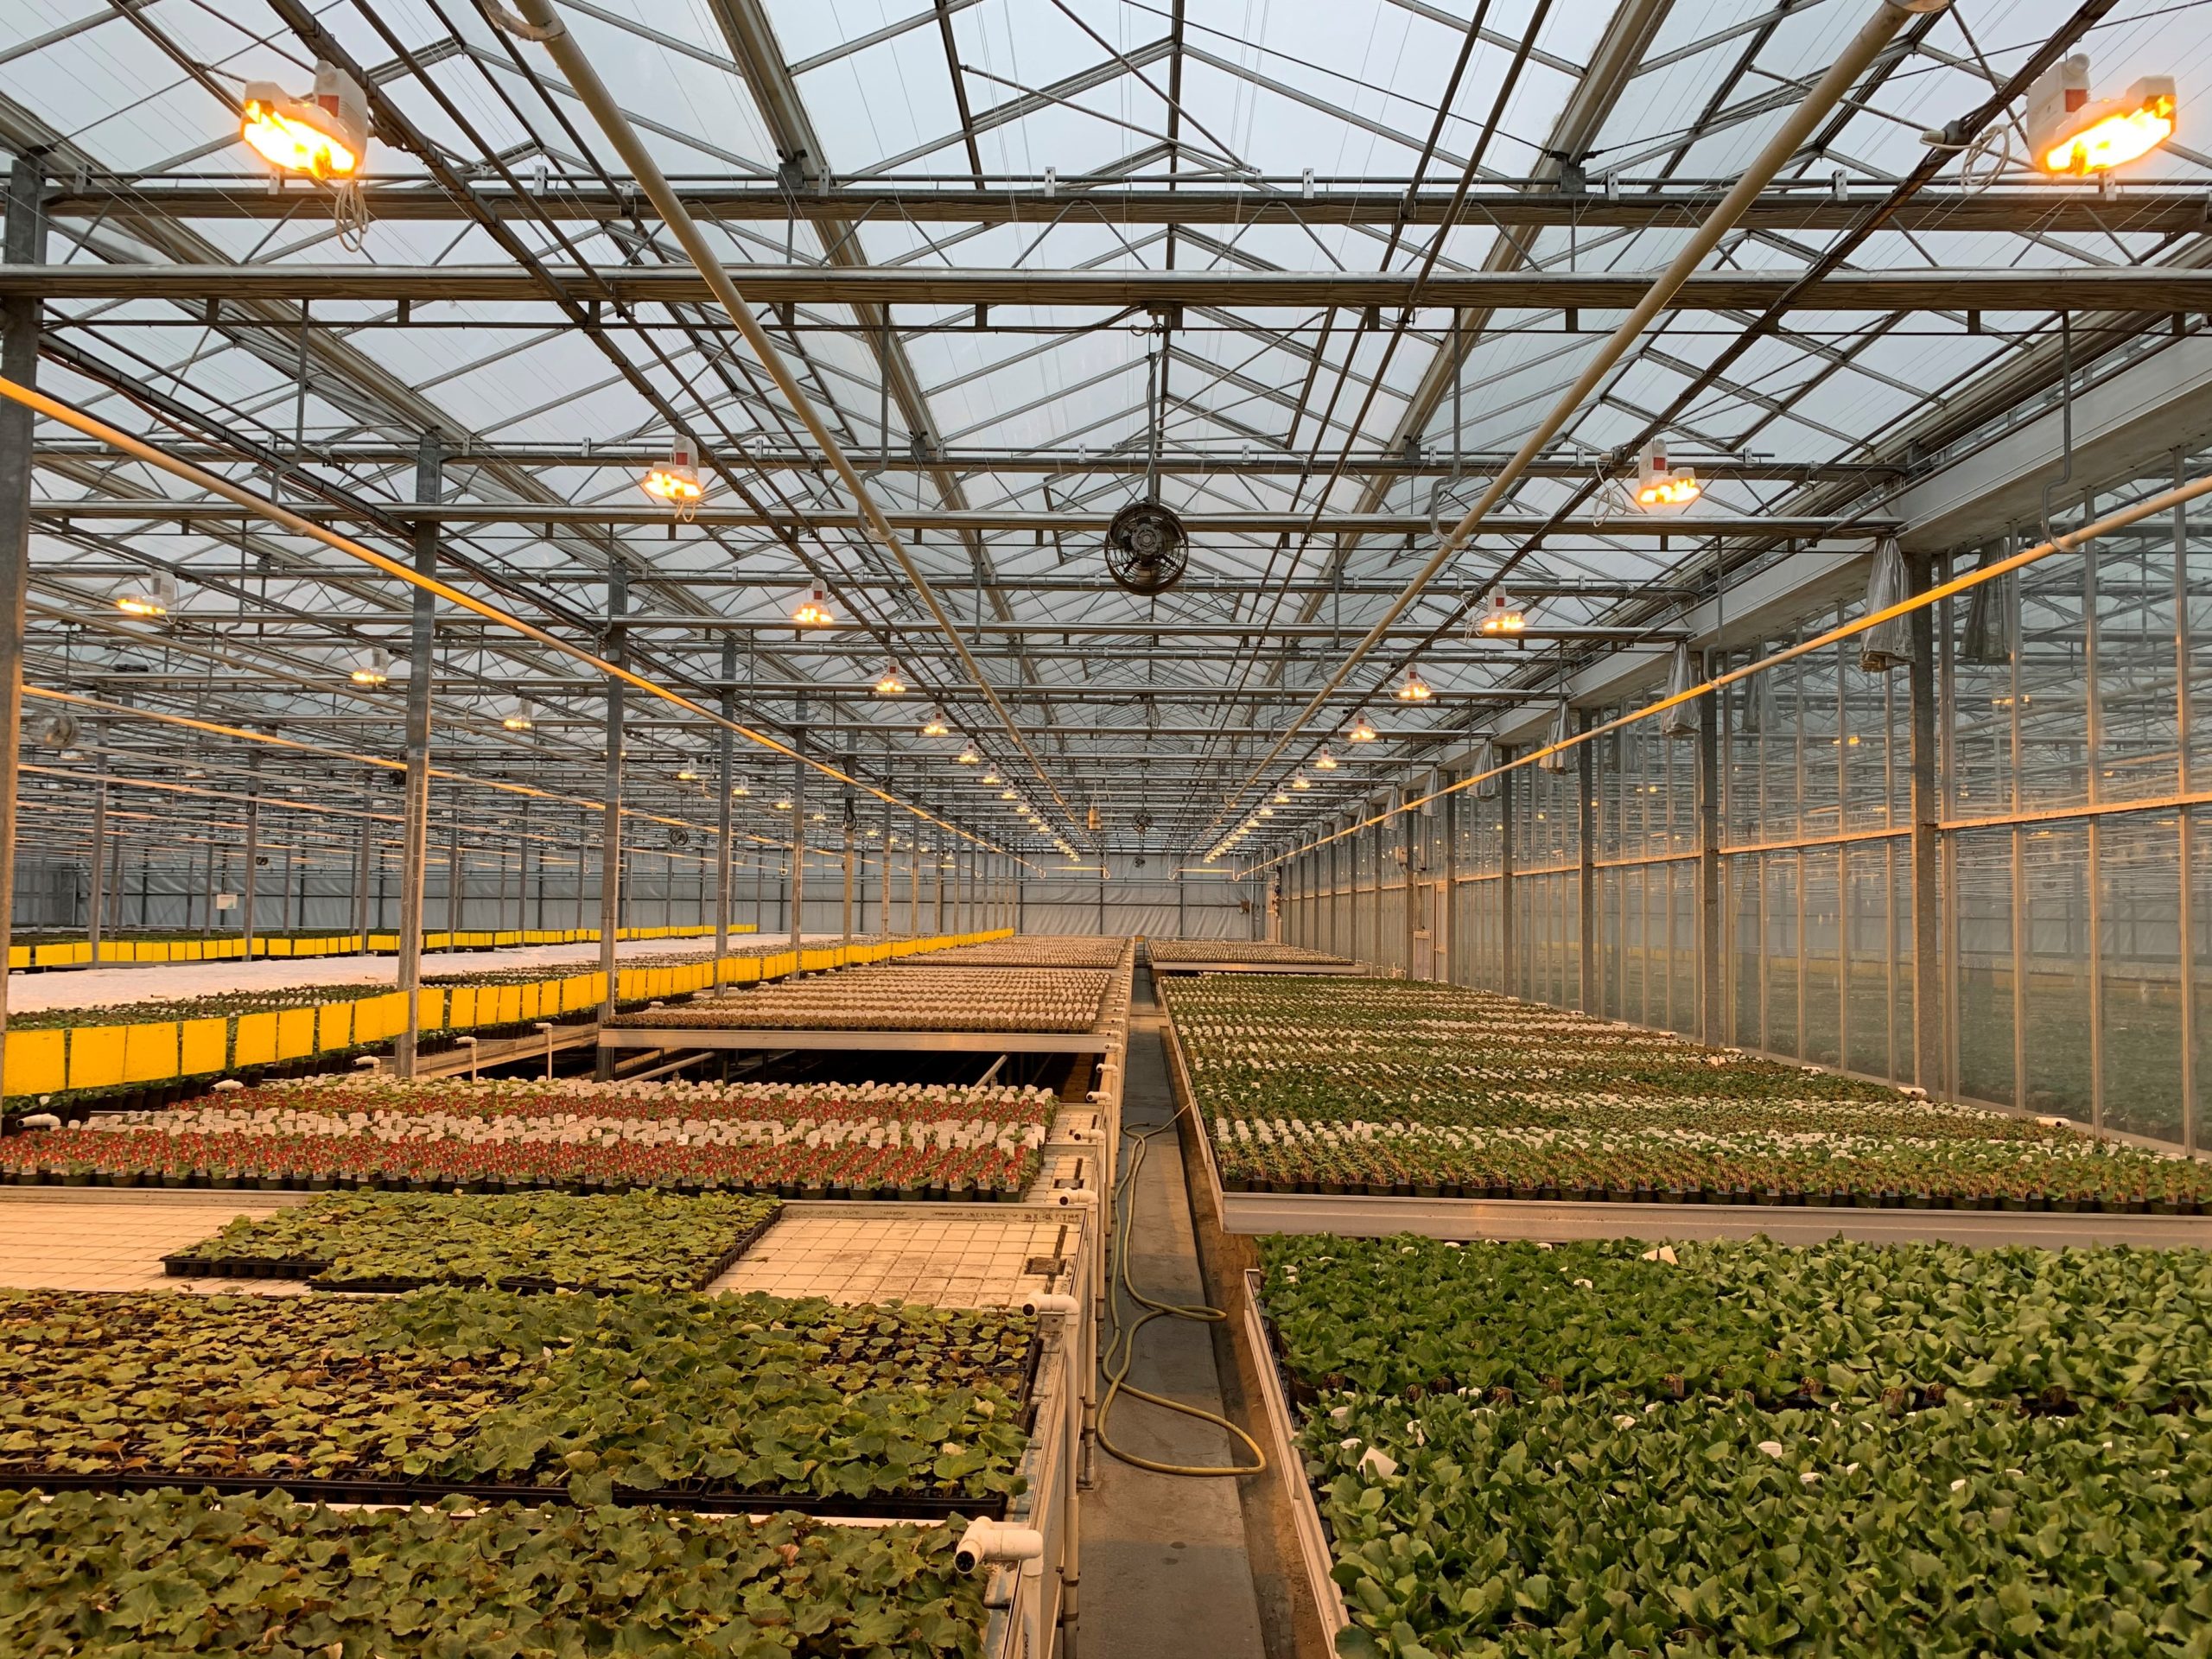
Another option is to install a hybrid lighting system i.e. a mix of LED and HPS luminaires which allows growers the benefits of both technologies.
A hybrid solution provides the flexibility to take advantage of the radiant heat and diffused light of the HPS lighting, but also the energy efficiencies of LED. It also allows greenhouse growers to extend the supplemental lighting period longer into the spring by using only the LED lights when outside temperatures and daylight hours increase. A hybrid system also reduces the initial capex and can allow a grower to further manage costs by maintaining their existing infrastructure.
A hybrid solution can really provide the ideal balance. Let’s take a look at a couple of application examples to illustrate the differences between the different systems.
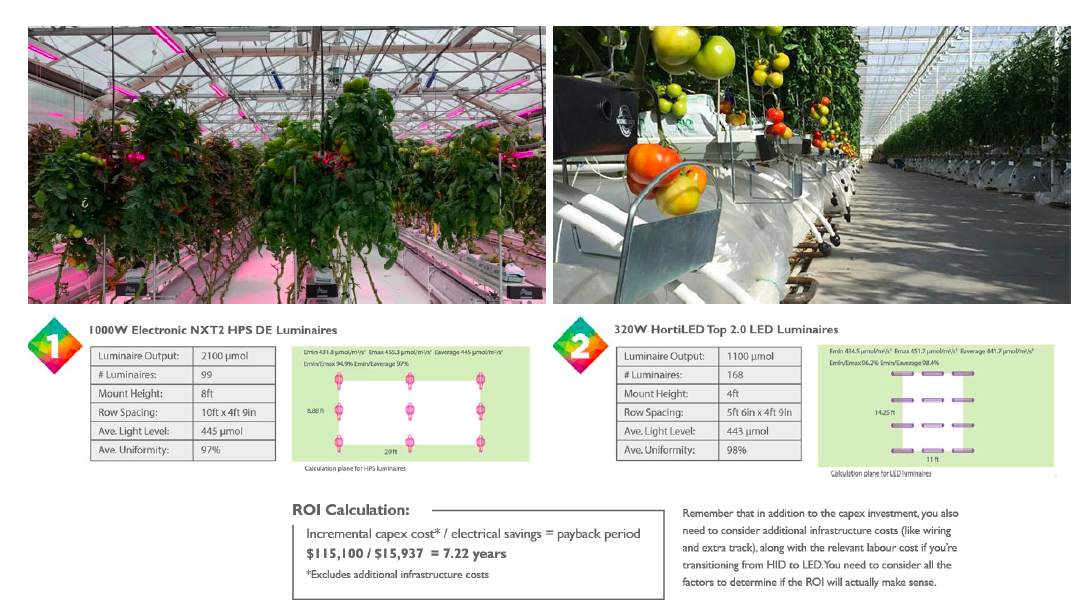
Here you can see comparative light plans, based on all HPS vs. all LED lighting for the same application.
For the HPS solution, we can achieve 445 µmols with 99 x 1000W luminaires hung on 10ft spaced trusses. To achieve the same level for the LEDs, we need to use more lights than the HPS layout, and cannot achieve uniformity, nor fit them all if we try to hang them on the 10 ft truss – in this case, we would have to install additional track to fit the number of LED luminaires required.
Also, the reflector technology in the HPS luminaires helps to diffuse the light by reflecting and refracting photons around the grow area in different directions. This is different from an LED that directs photons directionally downward. So, while the plans have targeted the same light level on the canopy of the crop, you also need to take into consideration how those photons are being distributed into the crop.
For the LED application, 168 luminaires at 1100 µmol/m2/s1 output each produce a total of 184,800 µmols for this entire space. The 99 HPS grow lights, with an output of 2100 µmol/m2/s1 each, produce 207,900 µmols of PAR light. The question is, which one will your crop perform better under?
The simple answer looks like it would be HPS luminaires. However, if your plant is utilizing the blue and red wavelengths of light more efficiently than other areas of the PAR spectrum, then LED indoor grow lights might work better for your crop. This is because some of those photons from the broader spectrum HPSs are not utilized by plants for photosynthesis.
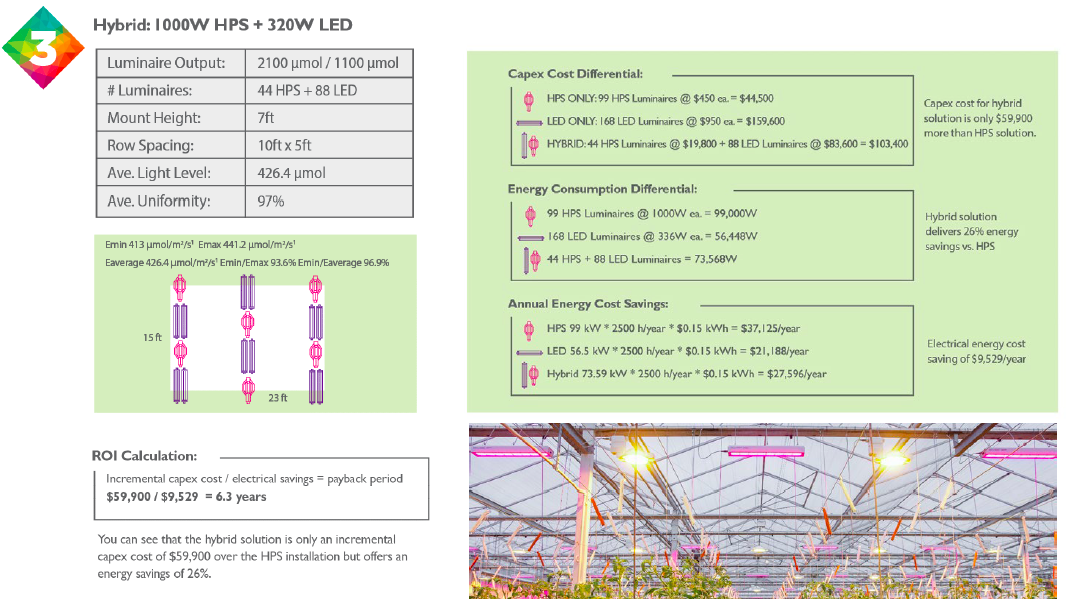
Let’s look at how a hybrid LED and HPS lighting system might differ from all LED or all HPS systems. In this plan, we replaced every other HPS with two LED luminaires. This spacing also means that they can still be mounted on the 10ft truss, rather than having to install an additional track, as was the case with the all-LED solution.
You can see that, with the hybrid solution, the incremental capex cost is $59,900 more than the HPS (vs. $115,000 for the all-LED solution) but still offers an energy savings of 26%. So a hybrid solution in many cases really does offer the best balance between performance and efficiency and could be a good way for someone who has an existing HID installation to improve their efficiencies, while maintaining the benefits of HID technology by switching out every other HID luminaire with LEDs.
Remember that we are looking at the lighting costs alone in these calculations. To really figure out what solution works best for a particular project, we need to also factor in the relevant infrastructure and heating or cooling costs to determine which setup will truly offer the best ROI for each application.
In conclusion, no matter what type of lighting system you’re using, there are many ways you can ensure you’re getting the most out of it in terms of efficiency and performance to achieve maximum crop yields.
Each application is unique, so you should discuss your particular situation with a trusted lighting partner to see what strategies and improvements you can make in your operation.


